What do you do with your Paper Pumpkin kits after you made the cards? Here are some Simple Paper Pumpkin Storage Ideas!
I encourage all Paper Pumpkin subscribers to organize your stamps, ink spots & extra embellishments. Once you have done this, it is much easier to pick out the items you need to make a card! At the beginning of one of my YouTube videos, I showed you how I store & organize my past Paper Pumpkins. Here are my suggestions for you to organize yours:

Stamps
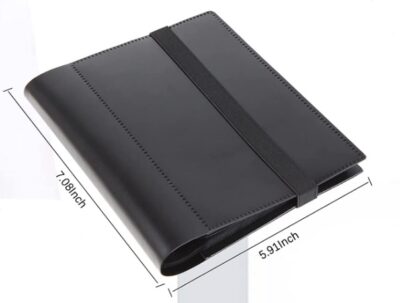
Purchase plastic binder pouches, 1 pouch for each month, to enclose the directions & stamps then put them in a 3-ring binder in chronological order. If you would like to view a sample of this pouch on Amazon, click here. *
Place a “Table of Contents” (see below for FREE download) in the front of your binder so that you can glance all the Paper Pumpkin stamps sets over to see what you have available to make your card. Since they will be in chronological order, it will be easy to find what you need.
Free Table of Contents!
If you followed me on Facebook or Instagram here is the file for the Table of Contents I use for organizing my past Paper Pumpkin stamps, please let me know if you need previous years:
Embellishments
Purchase a cheap photo album that holds 4″ x 6″ photos and put my extra sequins, rhinestones etc… in the photo sleeves. This way you can flip through the “Book of Bling” as we call it at my house, to find the perfect embellishment! If you would like to view this album on Amazon, click here. *
Ink Spots
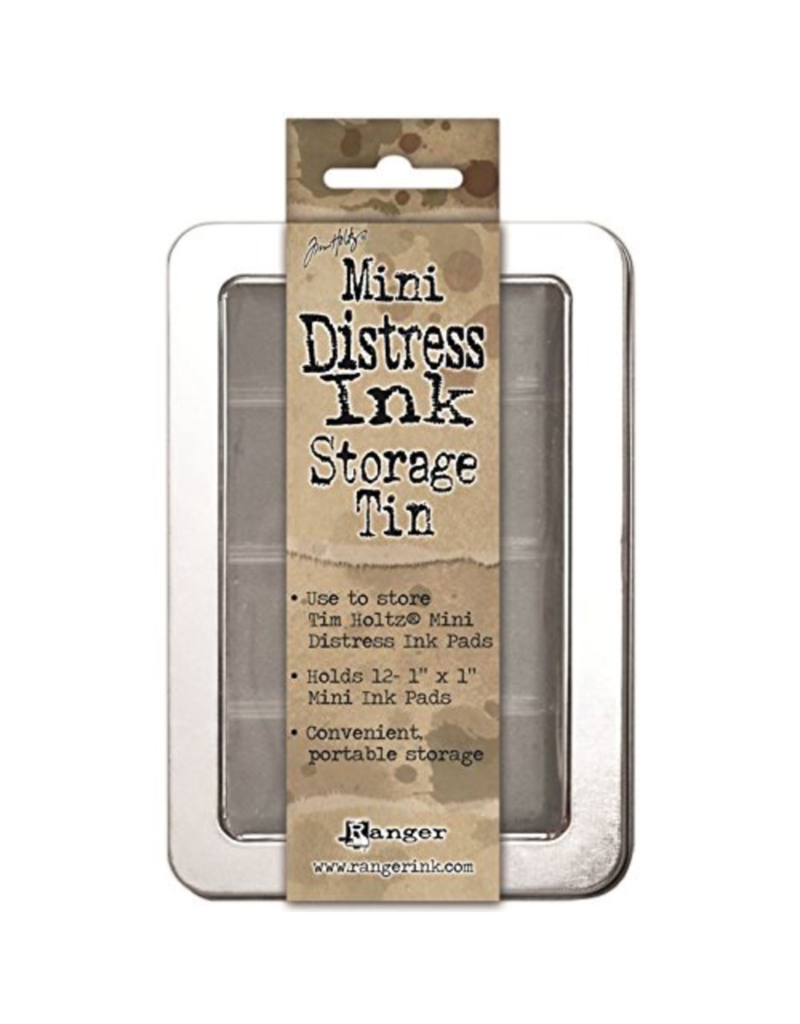
To store the ink spots, purchase Tim Holtz Mini Ink Storage tins. Each tine holds 12 ink spots. It makes it easier if you have 1 tin for each color family, Brights, Neutrals, Regals, Subtles & In Color. Now when you sit down to make a card you can see all the different colors available to make it! If you would like to view these tins on Amazon, click here. *
*PLEASE NOTE: I do not receive any compensation for the supplies listed above.