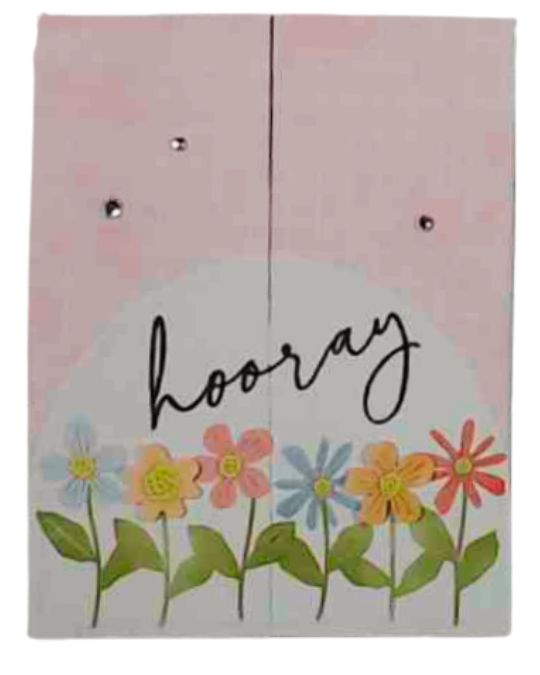
For the July 2026 A Paper Pumpkin Thing (APPT) Blog Hop, I wanted to create a wide garden with the Hooray for Birthdays Paper Pumpkin Kit. This beautiful kit creates 9 cards (3 each of 3 delightful designs).
Items from the Kit:
- 2 – Smaller Plaid Pink card bases
- Oval Envelope
- 2 – White Arches
- Flowers & Leaf Stems that correspond with this card base (2 sets)
- Timid Tiger Ink Spot
- Stamps from kit
- Mini Dimensionals
- Tear & Tape
Additional Items:
- Black Ink
- Trimmer
- Multipurpose Glue
- Basic Rhinestones
- Scissors
Diections:
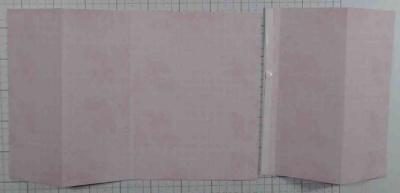
- Cut one of the card bases to 4 ¾” (preferable the scored side) & burnish all the score lines (Mountain)
- Add Tear & Tape to the ½” section & attach it to the right back side to create 2 panels that wing out
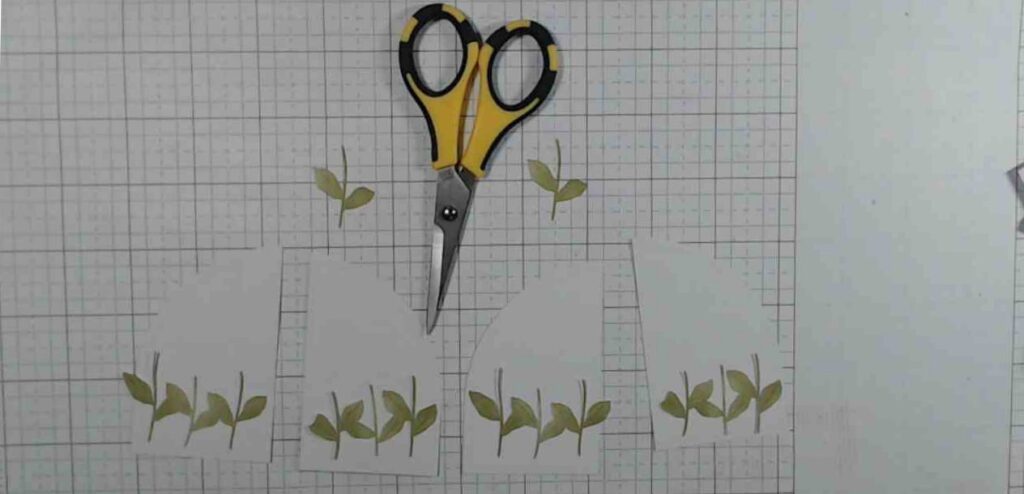
- Cut 2 White Arches in half, then trim each at the center so each width is 2 ⅛”
- Cut Leaf/Stems: trim off 1 Leaf/Stem from each, then carefully trim the middle so that you follow the leaf contour
- Adhere one set on the left & one set on the right with Multipurpose Glue (make sure you do not hang over the left & right sides or add glue to the leaf that hangs over the inside edges)
- Adhere White Arch halves to the corresponding left & right sides
- Cut Oval Envelope to 3 ⅞” x 5 ⅛”
- Adhere single Leaf/Stems & flowers w/centers to the bottom of the envelope piece & adhere to inside center of card
- Adhere flowers & centers over Leaf/Stem sections
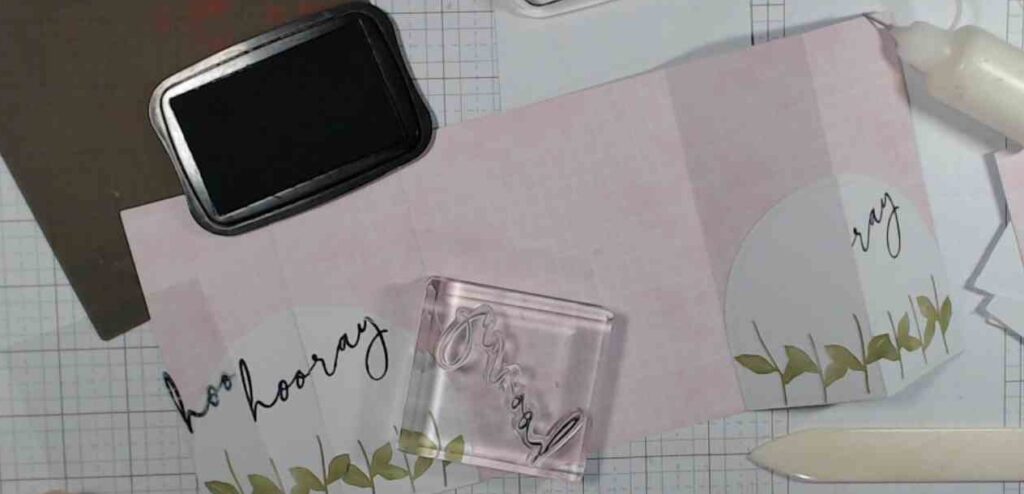
- Close card & stamp “hooray” with black ink over the 2 White Arch halves, then using a window sheet, open the card, place the window sheet over the front section, line up ‘hooray’ and stamp so that the inside is now stamped; clean stamp & repeat other side
- Embellish with Basic Rhinestones
If you would like to begin a Paper Pumpkin subscription, visit my online store!